How To Plant Amaryllis Bulbs
It’s bulb season here at Anderson Seed and Garden and one of our favorite bulbs to enjoy throughout the holiday season are amaryllis bulbs. We source our Amaryllis bulbs direct from Holland and we only get the largest bulbs that we can find.
Remember, the bigger the bulb the bigger the flowers. This is true with Amaryllis as well as other fall-planted bulbs like tulips, daffodils, and hyacinths.
We enjoy large bulbs. This is a thirty-four centimeter or bigger bulb. But our biggest bulbs that we bring in are 40-centimeter bulbs and they are just massive!
This bulb has a flower bud and a leaf coming up already on the top. It’s getting ready to go.
Remember, the larger the bulb, the more flowers you’re going to get. And they come in all kinds of colors. There’s white, pink, red and mixtures of all kinds of different colors (orange, peach).
Once an amaryllis plant starts to bloom, it takes about four to six weeks for them to produce flowers. Once they start to bloom, you can enjoy them for two, four, or even six weeks. These really large bulbs will produce anywhere between 12 and 20 flowers. And so they’ll continuously kick out flowers for about six weeks.
Our standard-sized bulbs will produce usually two and sometimes three flower stalks with four to six flowers on each stalk.
The large ones will produce three and sometimes even four flower stems with four to six flowers on each stem. Its not unusual for these to put out 20 flowers and last for about six weeks.
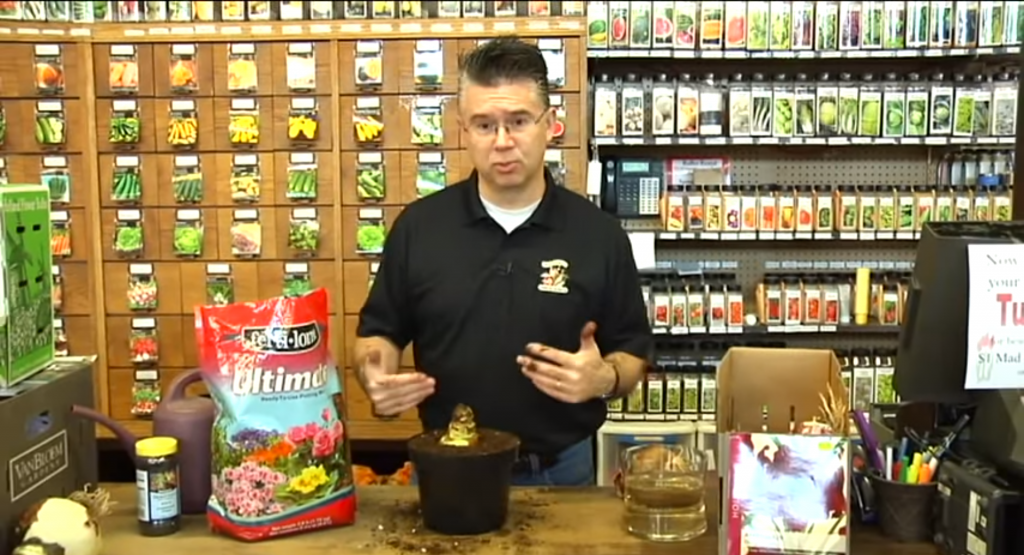
So I’m going to show you how to plant using some new techniques that have come out in the last couple of years.
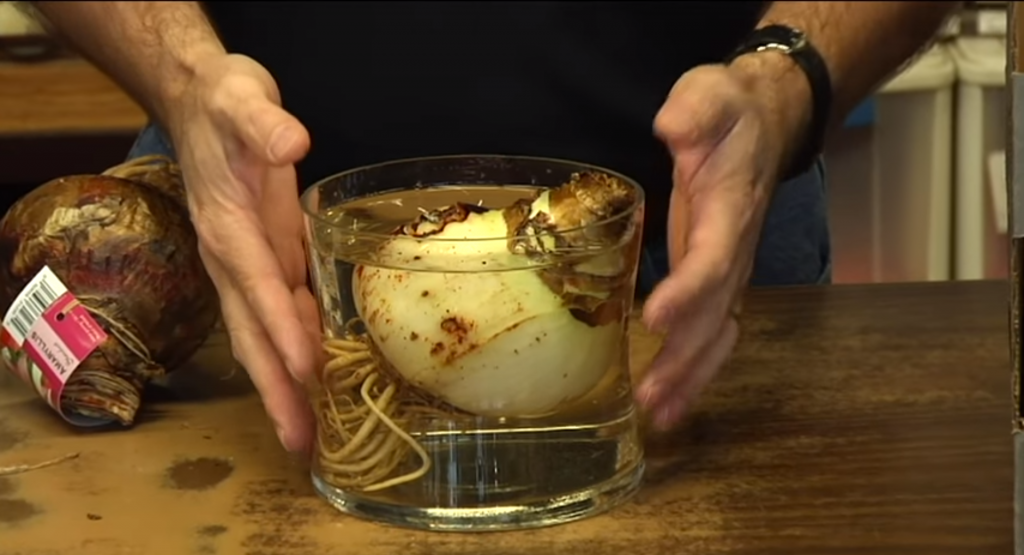
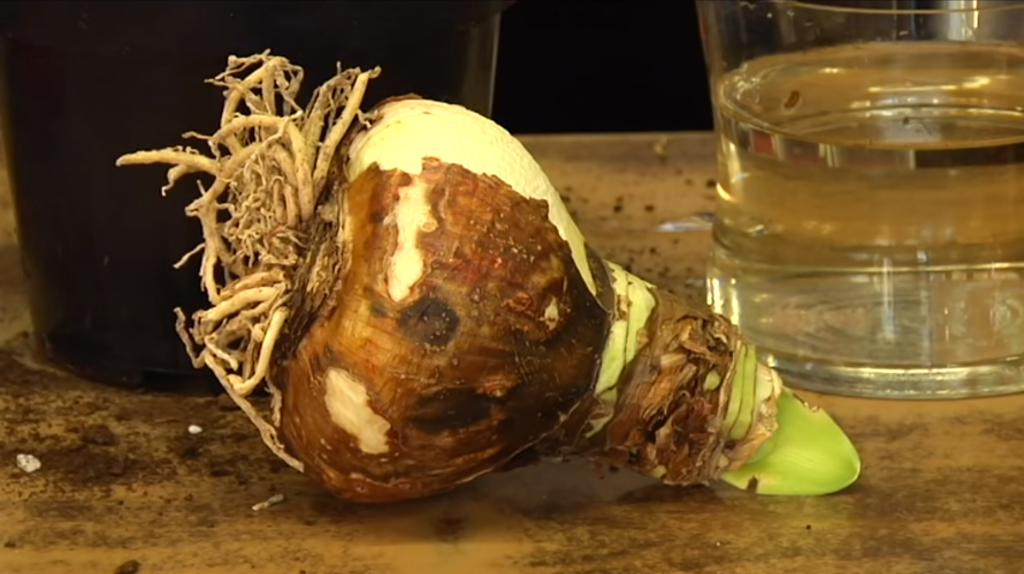
University of Rutgers has been doing a lot of research with bulbs in conjunction with the Bulb Growers Association of Holland. They have found that if you soak the bulbs for eighteen to twenty-four hours in lukewarm room temperature water, they will produce a lot better and quicker as well too. So I’ve taken this bulb and soaked it overnight and it’s ready to be planted.
What happens is the roots on the bottom of the bulb get dried out in its transit from Holland. So by soaking them in water overnight, it’ll plump those roots back up. As you can see there, there are a lot more roots that have absorbed and pulled that water in.
The big difference is in how those roots look now. After you’ve soaked it for eighteen to twenty-four hours, it’s now ready to plant and we like to a plain, nondescript pot.
We prefer to put them in an inexpensive pot and put it in a nicer, more decorative planter afterward. It just is easier to work with. And let’s say you’ve got your grandma’s prized ceramic pot and you’re bouncing it around, there’s always a chance to break it. If you happen to drop the plastic inexpensive planter, it doesn’t matter. After we get it planted we can move it to a more decorative pot.
We want to use a pot that has holes in the bottom. We’re also going to take a piece of paper towel and put that in the bottom of the pot so that it keeps our soil from falling through.
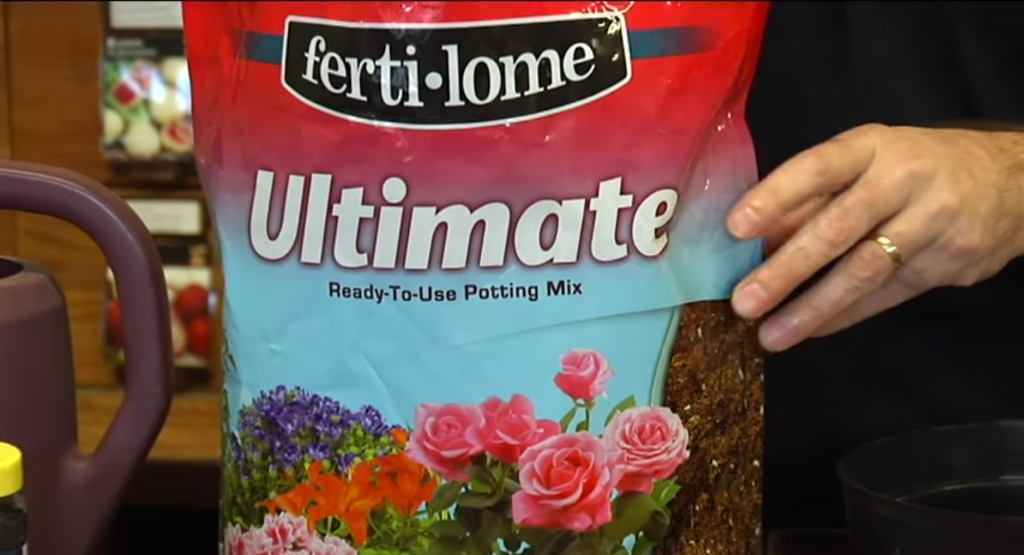
Ferti-Lome Ultimate Potting Mix
My favorite soil mix is the Feri-lome Ultimate Potting Mix. Its composition is perfect for planting your Amaryllis bulbs.
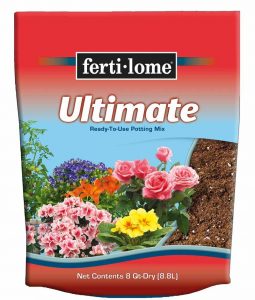
It’s got perlite and humus in there. It’s got a wetting agent to help the water penetrate in as well. This is just the nicest, best quality soil that we can get. As you can see, it doesn’t have bark or other junk in it.
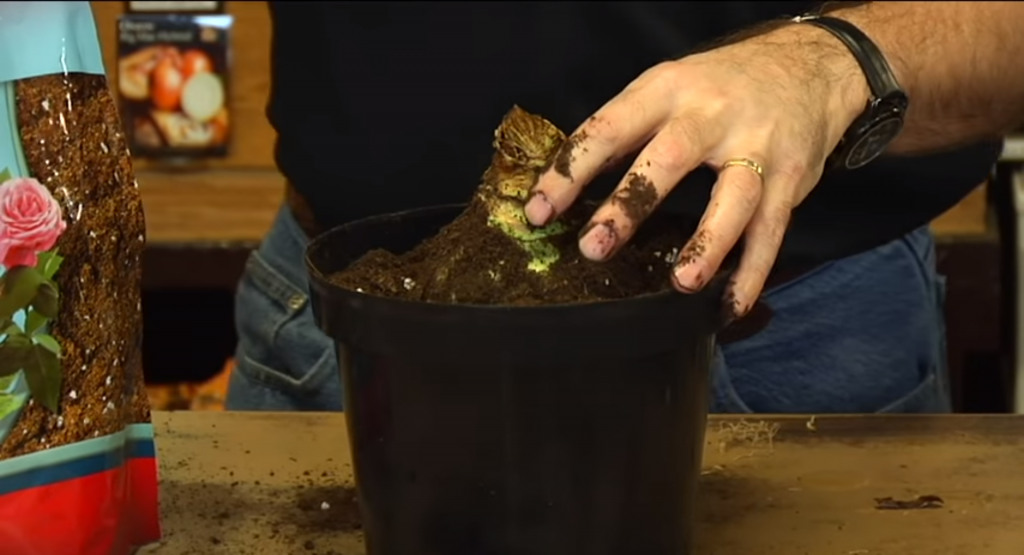
We’re going to fill the bottom of this pot with our ultimate potting soil from Ferti-lome. I want to put a little soil down there at the bottom so we can get the root system down into the pot without damaging the roots. So I usually put about 1-2″ of soil down on the bottom and try and make a little bit of an indentation right in the middle so that we can gently put those roots down in the bottom of the pot so it doesn’t damage the roots.
I like to get those roots down in the bottom (near the drainage holes) , and then gently pack the soil in around it. I will hold it so that the roots are touching the soil, but they’re not ground down into the bottom, the soil. Be careful not to damage those roots as you’re putting soil in.
I’ll pack the soil in around the bulb and gradually give that bulb somewhere to sit so that they’re not compressing or pushing down on those roots. So as I put the soil in, I’m going to gradually tuck it down in around the bulb. The positioning of the bulb is kind of important, we like to have about half of the bulbs sticking up out of the soil. As I pack that soil in around it, and then when we water, that soil is going to settle just a little bit. So I’m going to fill up the pot a little bit more than what you would normally do because as it hydrates and it absorbs up the moisture, it’s going to settle just a little bit. We can always add some soil a little bit later.
Now, as we water the bulb, we want that water to drain through on the bottom. So I’ll take this and I’ll put it into a saucer and we’ll let that water drain through. And once the water has drained all the way through, then we know that the soil is well saturated.
Ferti-Lome Garden Cote
I’ll pick it up and make sure it feels nice and heavy the way it’s supposed to be. You will want to water maybe once every week to 10 days just to get things going. But after we’ve hydrated it already with water, it should come along a little bit quicker.
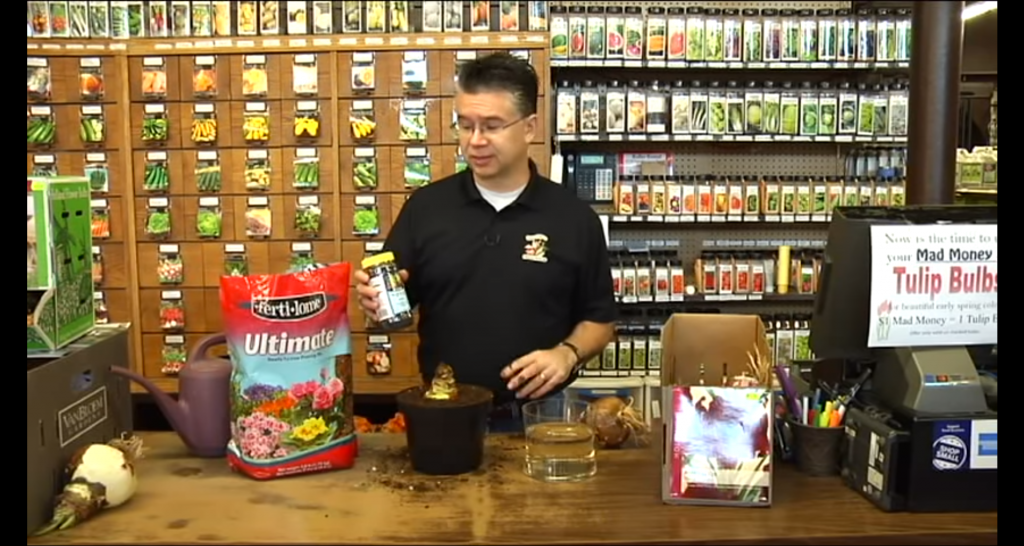
Once a flower bud starts coming out of the top of the bulb, then you’re going to want to water it more frequently. Water every four or five days to keep that soil moist as it’s producing the flowers. And then in addition to our Ferti-lome Ultimate soil, we use Ferti-lome Garden Cote 6, which is a slow-release fertilizer, it lasts about four to six months.
As our amaryllis is starting to grow, we want to have a little bit of fertilizer in there for it. We like to start fertilizing them right off the bat to help that bulb absorb up the nutrient that it needs. And then it helps when the bulb is recovering so we can get it to come back again next year. So a lot of great, beautiful colors of Amaryllis that we can plant super easy to do.

It usually takes about four to six weeks for it to bloom. And then and a lot of cases it’s blooming for two to four to maybe even six weeks. You get to enjoy those flowers for a long time. Super easy to do, very simple process. Make sure you are using the best soil can find and a little bit of fertilizer. Happy Growing!